Moving into the third dimension
 Everything seems to be coming out in 3D these days, so why should illustration be the exception?
The idea to sculpt a set of characters in 3D has been bubbling away in the back of my mind for some time. Model making and sculpting have been my hobbies for many years, and I’ve always thought there was some potential to use these skills for illustration. I just needed the right project. So when I was asked to create a set of character illustrations as part of an extensive re-branding project for Sexual Health Services in Hampshire, Portsmouth and Southampton, I had the brief I was waiting for.
The first thing to do was to see if sculpting would be a viable solution. When sculpting as a hobby, deadlines and budgets aren’t an issue but I needed to be able to turn out each of the sculpted characters in the same time that it would have taken to produce a 2D illustration. I took my idea to Ken Howard, our Design and Print Manager, and he agreed that I could produce one character to test the viability of the concept and present it to our client. I had seven hours and a lot of decisions to make!
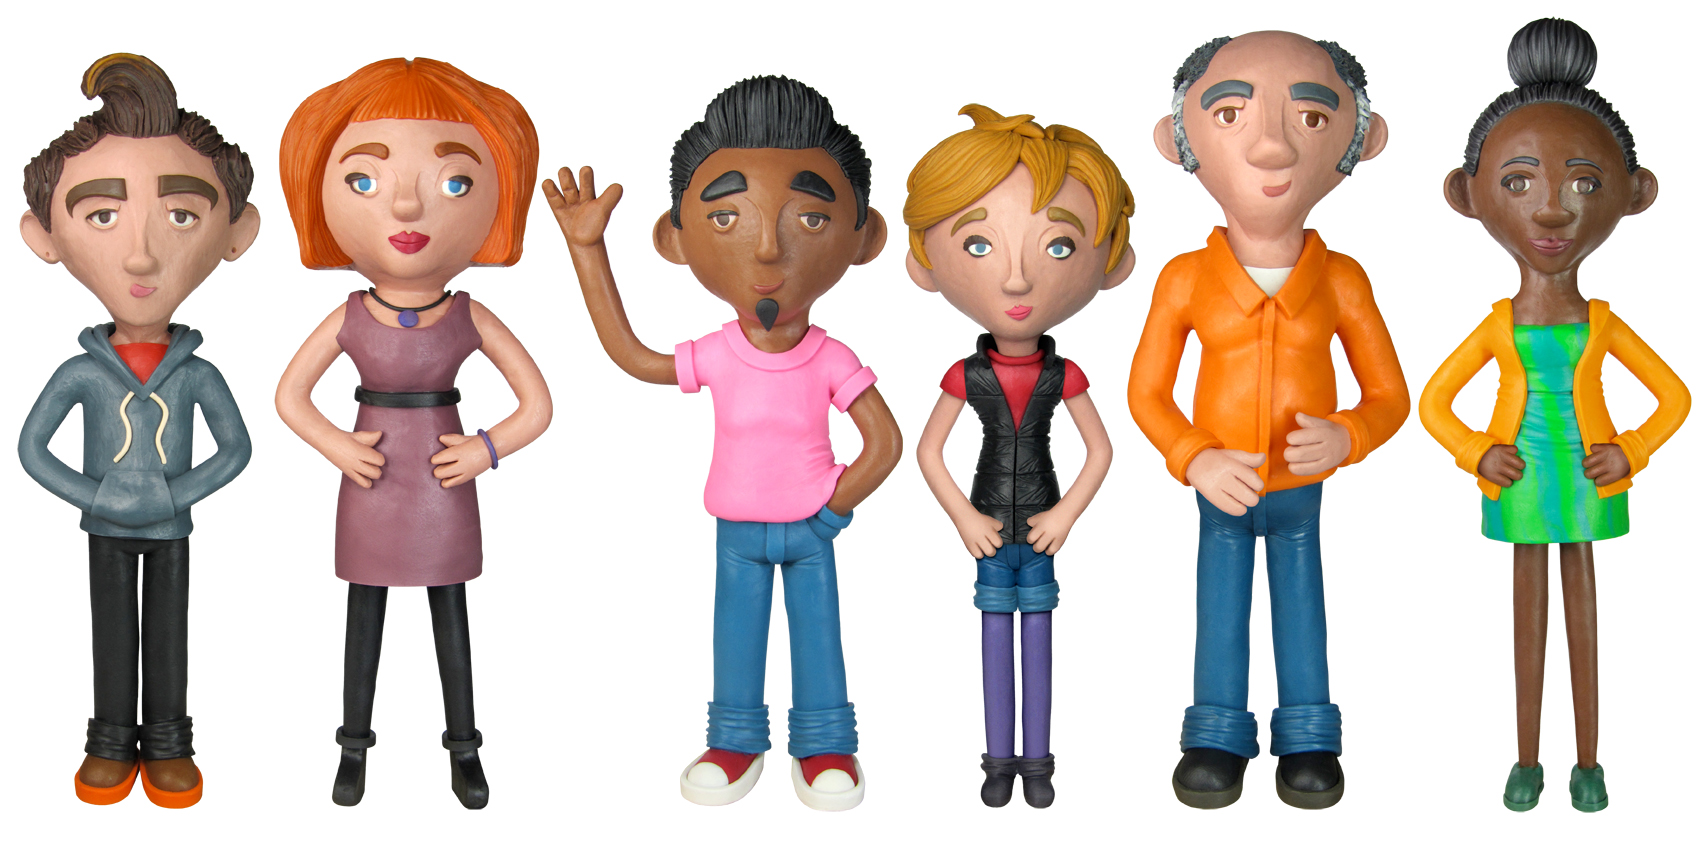
The finished set of sculpted characters.
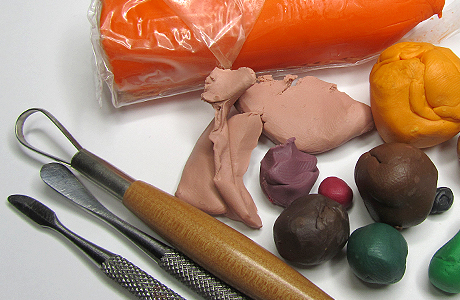
Home was going to be the best place to sculpt the characters, as I needed to hit the ground running. I had a suitable workspace for sculpting and all the materials and equipment that I would need were to hand. The next decision – what material was I going to use to sculpt the characters from? I needed something that would be economical, easily available and fast to use. This choice was also bound up with the design of the characters as the material used would affect their final appearance.
There were two obvious options as there was no time to paint the characters: polymer clay or plasticine. Both come in a range of bright colours that can be further mixed to create new shades. I chose to use plasticine, both for the speed with which I would be able to use it and for the look of the material itself.
First of all I built an armature to support my model. This would give the strength and rigidity that plasticine lacks and it would also help to set the size and proportions of the sculpt. An armature doesn’t need to be pretty but it does need to be strong, lightweight and rigid. With this in mind I sorted through the available materials and set to assembling. The armatures for the characters use a combination of wooden dowels, wire, compressed cotton balls and tin foil all held together with epoxy and superglue.

The armature and the first sculpted character.
While the epoxy hardened I set to mixing the plasticine into the colours I would need. It was at this point I could tell that I’d made the right choice of material. The plasticine softened as my hands warmed it, and the colours blended together far more quickly than I had expected. If the plasticine became too soft to sculpt detail it would simply be a matter of popping it into the fridge for a few minutes. I’d had some reservations as I was more familiar with polymer clay than plasticine but my choice was proving to be the right one. By the time the armature had set to its full strength, I was in for a very late night but I could finally start sculpting.
I quickly discovered that plastic, wooden and silicone sculpting tools tore up the surface and stuck to the plasticine. I worked on each area in turn – first applying the plasticine to the desired shape and volume with my fingers. Once I’d built up the basic shapes, I used a set of metal dental tools and wire loops to refine the proportions and smooth the surfaces. Finally, I applied detail and texture. Plasticine is oil-based, so a little water worked wonders to help smooth things out and the cool surface of the metal tools didn’t stick to the plasticine.
People occasionally ask: “How do you go about the process of design?” Sometimes it takes time, you carefully consider the options, try out several alternatives and weigh up their merits. More often than not, however, the process is far more intuitive and you fall back on your instincts and experience to go with a gut feeling about what will work. To get this first character ready for the next day, I needed to take a deep breath and dive in! I can’t honestly say where the look of my characters came from or if there were any influences on them. It all came down to me, the plasticine and an enormous creative buzz. Adrenalin can work wonders!
The next morning, very tired but satisfied with the result of my labours, I was able to present the first sculpted character. It was something of a nervous moment as this was going to come as a total surprise to my client. The gamble paid off and the concept was given the go ahead. Over the course of the following week, I sculpted a set of six characters, photographed them and incorporated those images into the designs for promotional materials as a part of the service re-branding.
As the brand is developed, there will be the chance to add some new sculpts to the set. The intention is to create an appropriately diverse set of sculpted characters that will help to promote Hampshire’s Sexual Health Services to the widest possible audience.
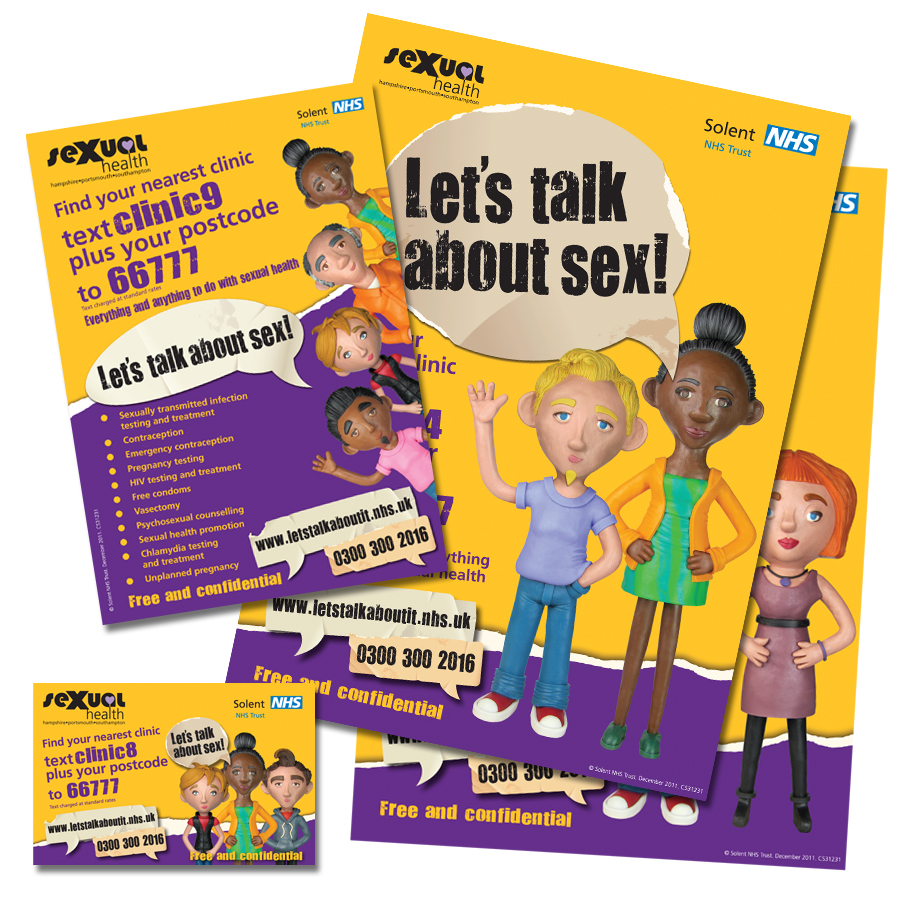
A selection of the new sexual health materials.